


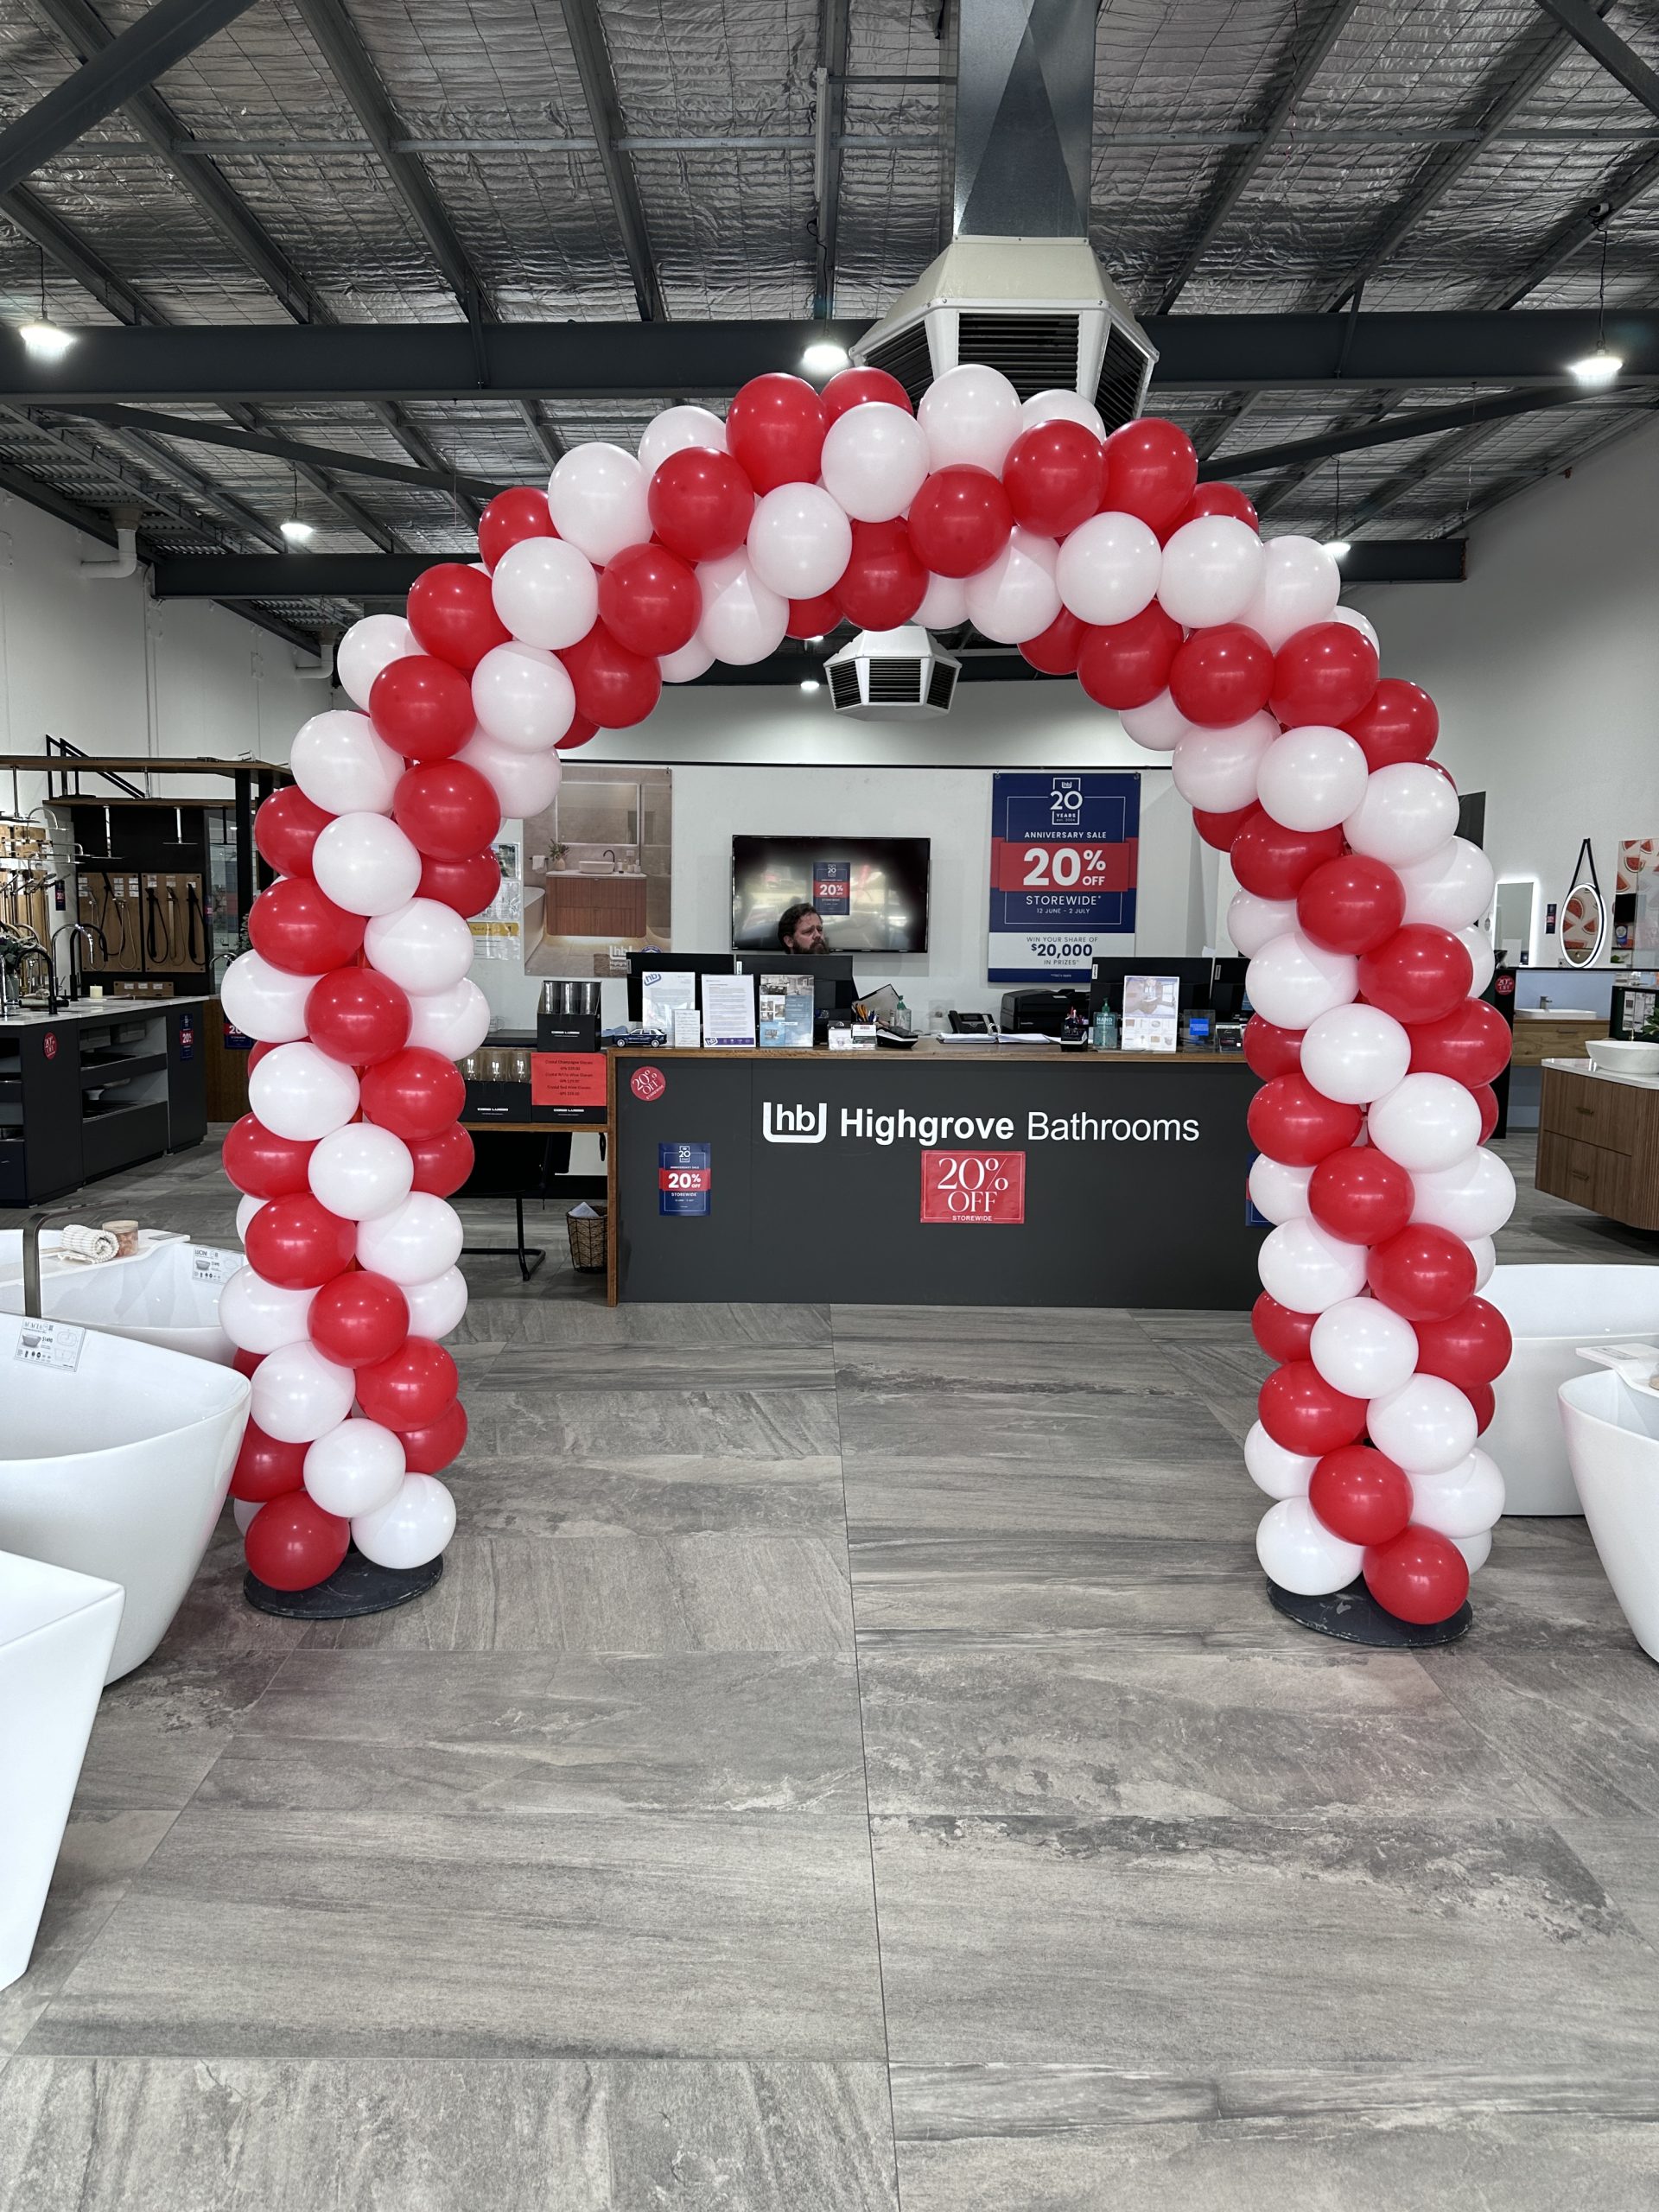
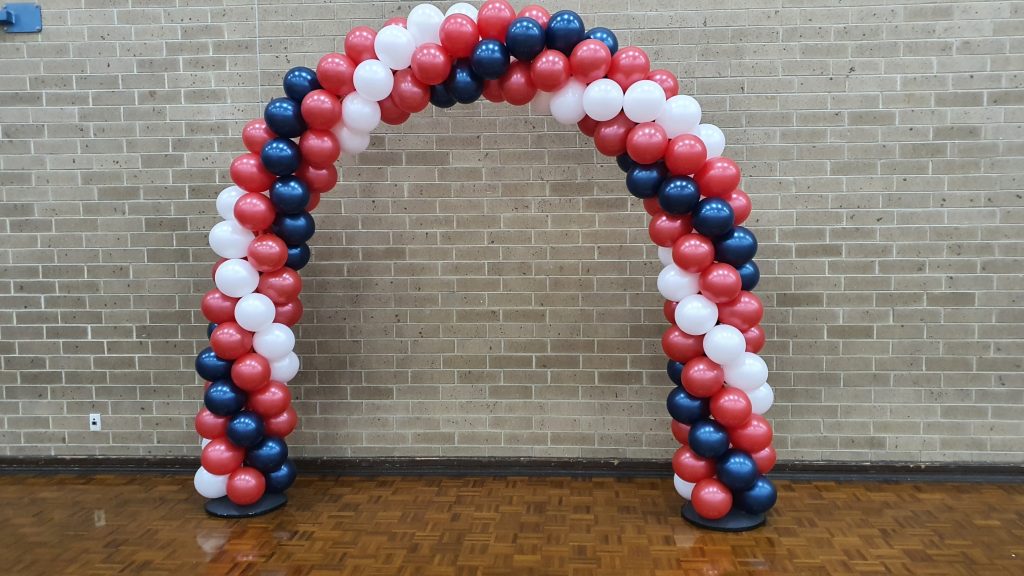
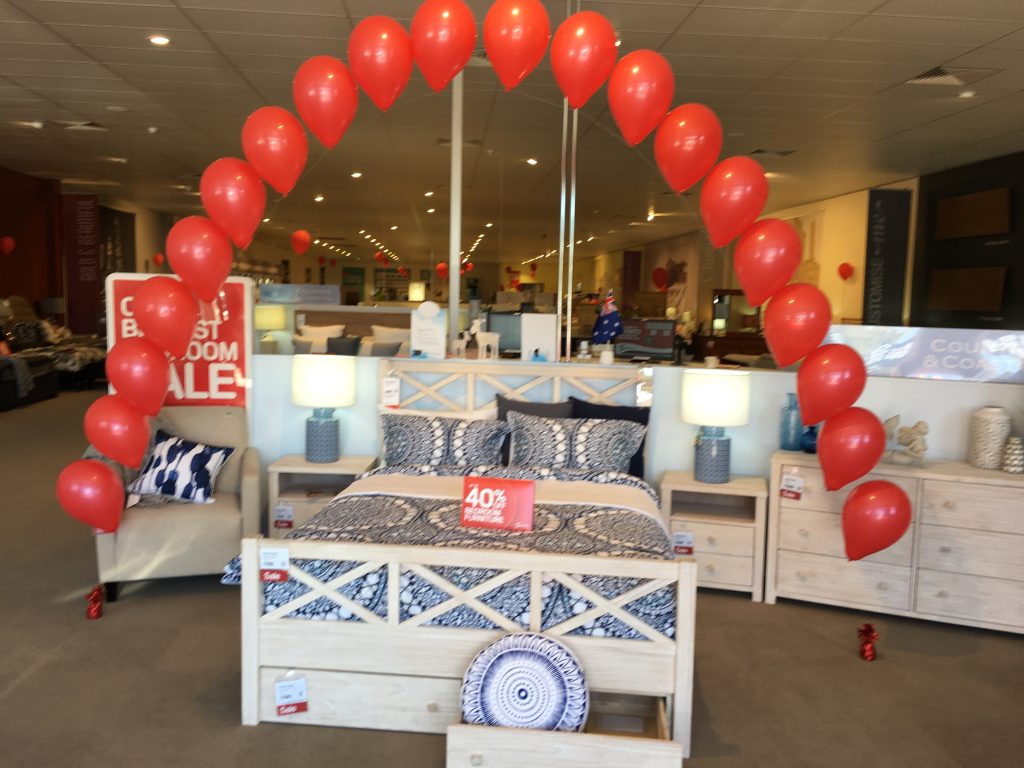
Balloon arches are a popular and eye-catching decoration for all kinds of events, from weddings and birthday parties to corporate events and grand openings. Creating a stunning balloon arch may seem challenging, but with the right tools and techniques, you can make beautiful arches that will impress your clients. Here’s a step-by-step guide to help you get started.
Materials You’ll Need
- Balloons (latex or foil)
- Balloon pump or helium tank
- Balloon arch frame (or fishing line and weights)
- Balloon sizer (optional)
- Balloon tying tool (optional)
- Command hooks or balloon tape (for attaching the arch to walls)
- Additional decorations (e.g., ribbons, flowers, greenery)
Step-by-Step Guide
- Choose Your Colors and Theme:
- Select a color scheme that matches the theme of the event. Popular options include monochromatic, ombre, and rainbow arches. You can also mix different textures and finishes, such as metallic and matte balloons.
- Plan Your Design:
- Decide on the size and shape of your arch. It could be a simple curve, a full circle, or a more complex design like a heart or star. Sketch out your design to have a clear plan.
- Inflate the Balloons:
- Use a balloon pump or helium tank to inflate the balloons. If you want the balloons to be the same size, use a balloon sizer. For a more dynamic look, use different sizes of balloons.
- Create Clusters:
- Tie balloons in clusters of three to five. Clusters of different sizes add depth and dimension to the arch. You can use a balloon tying tool to speed up this process.
- Build the Frame:
- If you’re using a balloon arch frame, assemble it according to the instructions. If you’re making a free-standing arch, use fishing line and weights to create the shape. Secure the frame with weights at the base to keep it stable.
- Attach the Balloons to the Frame:
- Start attaching the balloon clusters to the frame. Twist the balloon ties around the frame or use balloon tape to secure them. Alternate colors and sizes to create a balanced look.
- Fill in Gaps:
- Once the main structure is complete, fill in any gaps with smaller balloons. Use glue dots or low-temperature glue guns to attach these balloons without damaging them.
- Add Finishing Touches:
- Enhance your balloon arch with additional decorations like ribbons, flowers, or greenery. This adds texture and makes your arch even more stunning.
- Secure the Arch:
- If the arch is free-standing, make sure it’s securely weighted down. If it’s attached to a wall or structure, use command hooks or balloon tape to keep it in place.
Tips for a Stunning Balloon Arch
- Consistency: Ensure the balloons are inflated to a consistent size unless you are intentionally creating a varied look.
- Quality Balloons: Use high-quality balloons to prevent popping and ensure your arch lasts throughout the event.
- Double Stuffing: For unique colors and extra durability, consider double stuffing (putting one balloon inside another).
- Professional Help: If you’re new to balloon decor, don’t hesitate to seek advice or take a workshop from experienced balloon artists.
Common Mistakes to Avoid
- Overinflating Balloons: This can lead to popping and uneven sizes. Use a balloon sizer if needed.
- Ignoring Weight Distribution: Make sure the arch is well-balanced and secured to prevent it from toppling over.
- Last-Minute Assembly: Balloon arches take time to assemble, so plan accordingly to avoid rushing.